Guide

How to use Cropy.it

From screenshot to finished image in minutes —
capture, annotate, copy.

1 Capture 2 Annotate 3 Copy & save

1After installation

Allow two permissions

On first launch, macOS asks for two permissions. Turn on the switch next to Cropy.it for each one, then restart Cropy.it once. You'll also find both directly in Cropy.it under Settings › Privacy › Permissions.

1 Screen Recording

For screenshots. macOS asks for "Screen & System Audio Recording" — without this permission Cropy.it can't capture anything.
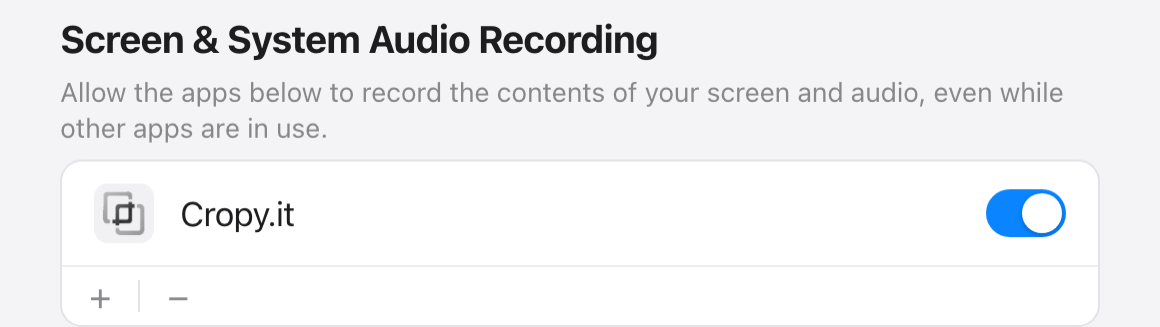
Screen Recording settings — enable the switch next to Cropy.it
Apple Support ↗

2 Accessibility

For scrolling capture — this lets Cropy.it scroll the selected window. Without it, "Scroll" stays locked.
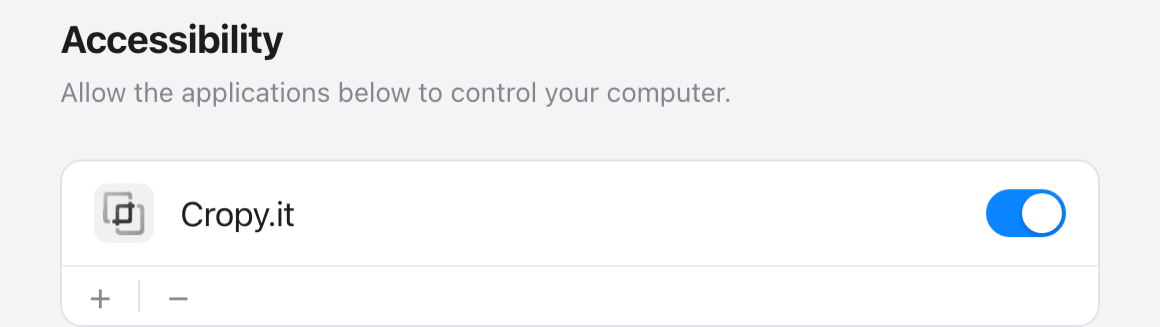
Accessibility settings — enable the switch next to Cropy.it
Apple Support ↗

2Finding the app

Cropy.it lives in the menu bar

Cropy.it has no Dock icon — it sits in the top-right menu bar. Look for the two overlapping, rounded squares.

3The window

One click opens everything

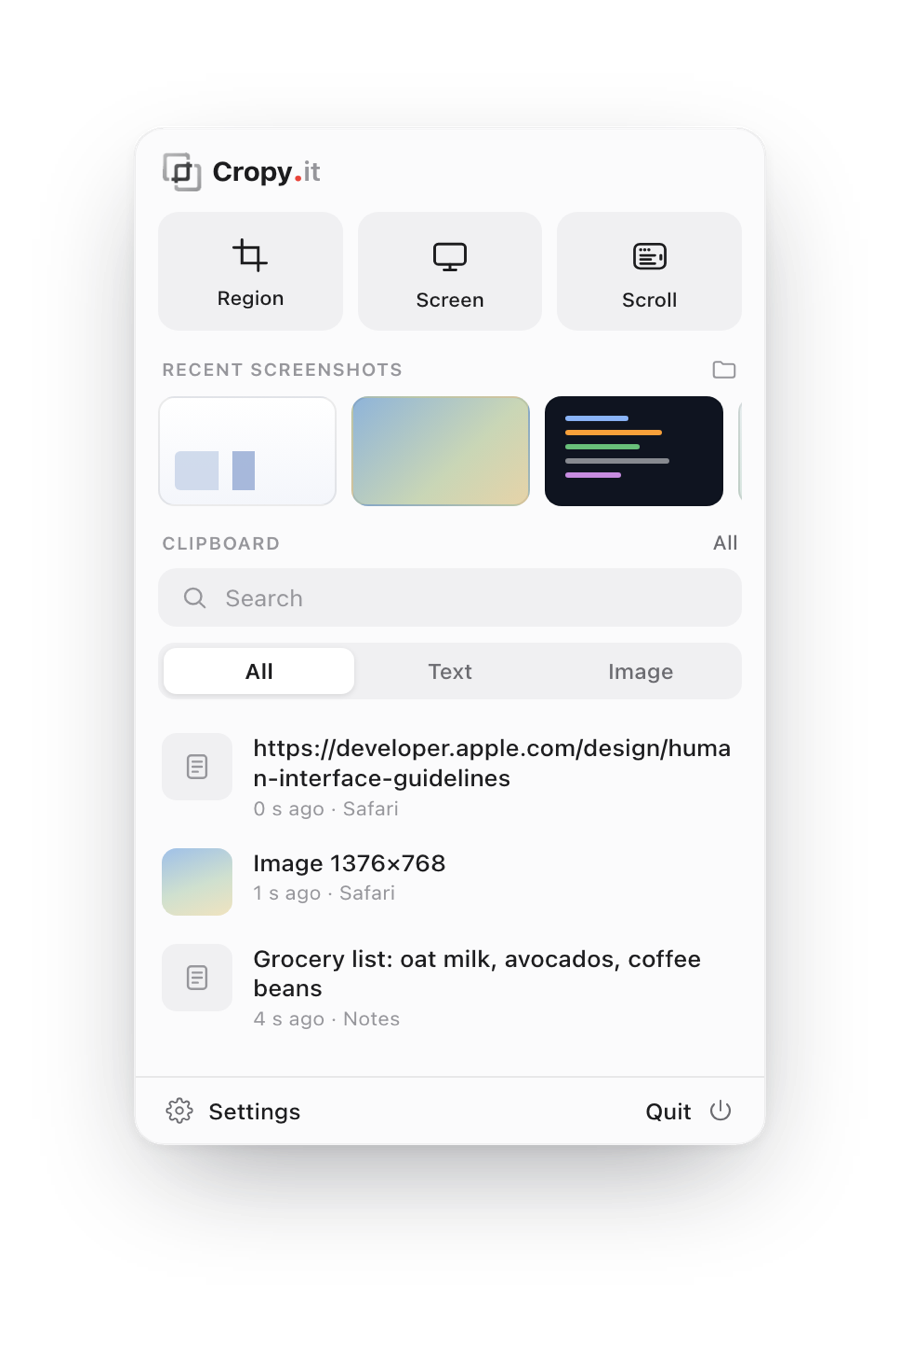
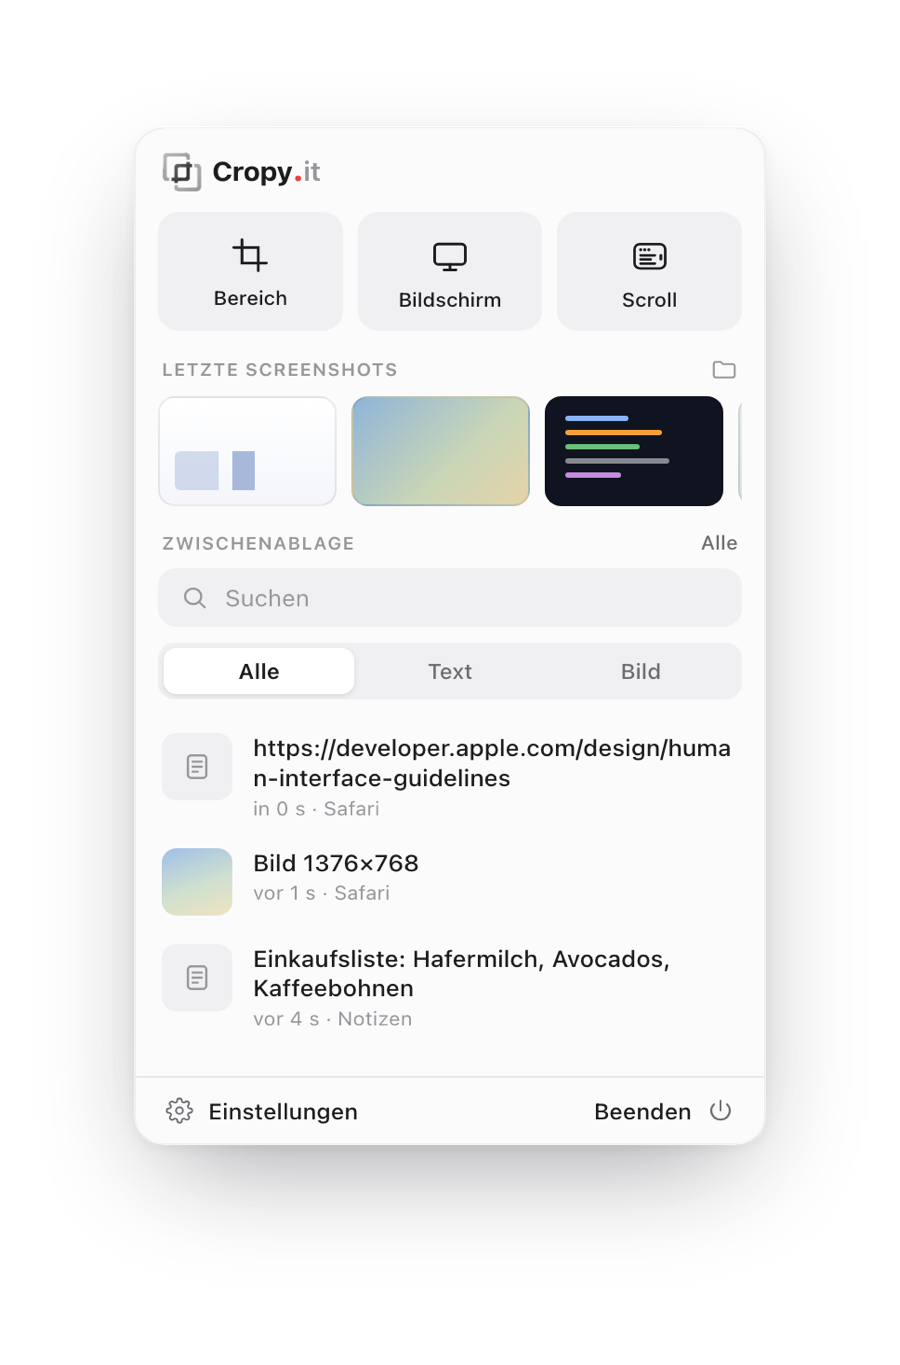
Clicking the Cropy.it icon opens the main window. From here you can reach every feature:

  • 1Start a capture — area, screen or Scroll.
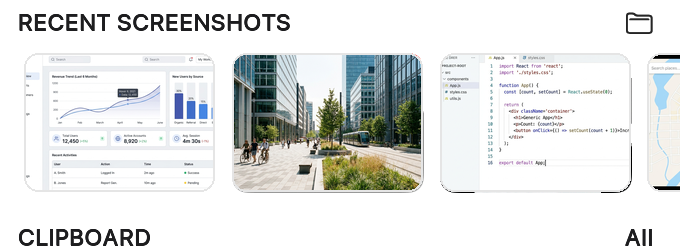
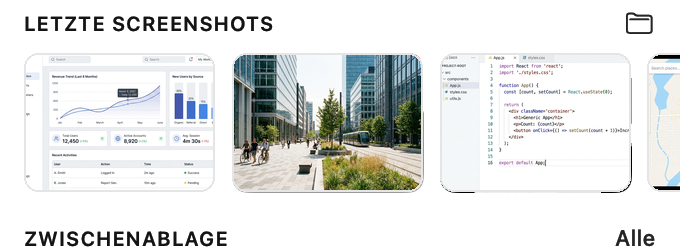
  • 2Recent screenshots — one click opens the editor.
  • 3Clipboard history — everything you've copied.
Cropy.it main window with capture types, recent screenshots and clipboard
1 2 3

4Capture

Area, screen or window

At the top of the window, one click picks what you want to capture.

Area

Drag out a rectangle with the mouse — the classic snip / cutout.

Screen

The whole screen — with an adjustable timer for the perfect moment.

Window

Exactly one app window, detected automatically and cleanly isolated.

When "Automatically copy to clipboard" is on, you can paste right away with ⌘V.

5Edit

Open the editor

There are two ways into the editor:

  • Right after capture — when "Open editor after screenshot" is on.
  • Via "Recent screenshots" — click an image in the window.

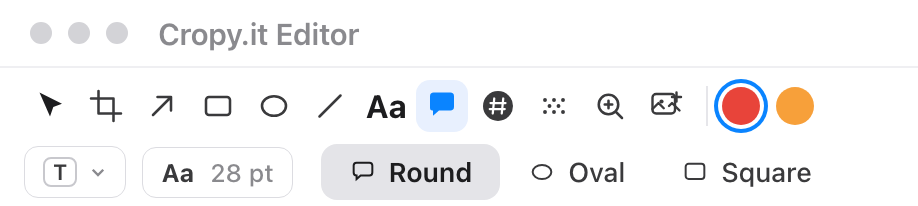
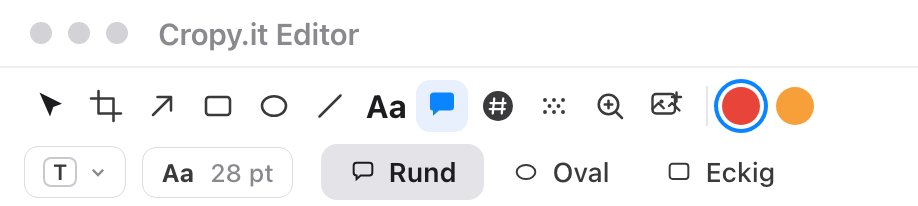
In the editor: Crop · Arrow · Rectangle · Text · Number · Blur · Magnifier.

Recent screenshots – clicking an image opens the editor
Cropy.it editor with toolbar

6Settings

Change the save location

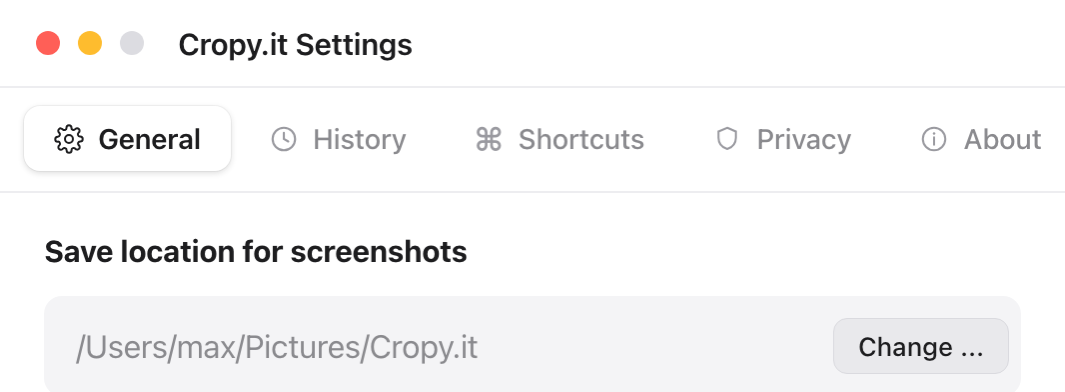
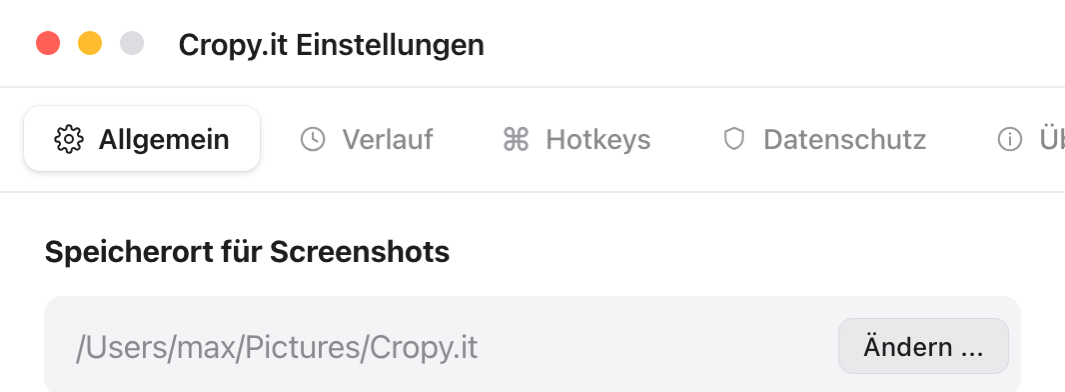
By default, screenshots land in the Pictures/Cropy.it folder. Open Settings (bottom left in the Cropy.it window), General tab.

  • Under "Save location for screenshots", click "Change …".
  • Pick your preferred folder and confirm.
  • All new screenshots will land there from now on.
Settings › General › Save location for screenshots › Change

1Download

Only download here on cropy.it

Cropy.it is available exclusively on cropy.it — this is the official site from the developer. Only download the app via the Windows button here on this page.

Important: This way you avoid fake or tampered copies. Other sites offering “Cropy.it” are not affiliated with us — only trust downloads from cropy.it.

2During download

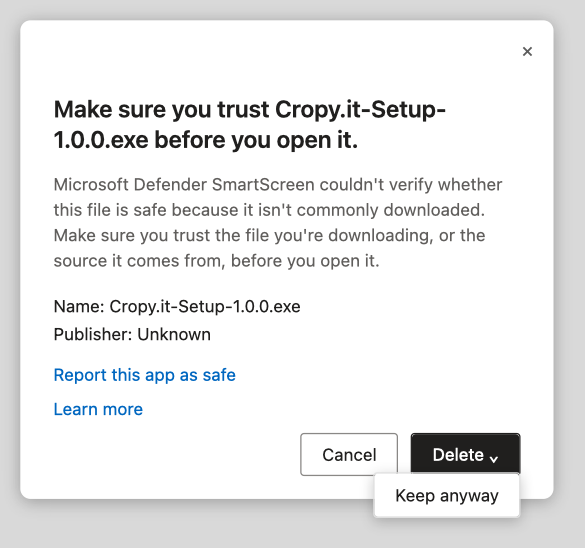
Browser warning? Keep the file

Because Cropy.it is new, your browser doesn't recognize the file yet and warns you during download. This is normal — there's no error and no malware.

  • 1Microsoft Edge: click “…”, then “Keep” › “Keep anyway”.
  • 2Google Chrome: click the warning and choose “Keep”.
  • 3Opera: in the download bar, click the next to the file and then click “Keep”.
  • 4Firefox: in the Downloads panel (arrow, top right), allow the file via right-click › “Allow Download”.
Microsoft Edge: keep the download – click Keep anyway
Microsoft Edge · “Keep anyway”

3First launch

Confirm SmartScreen

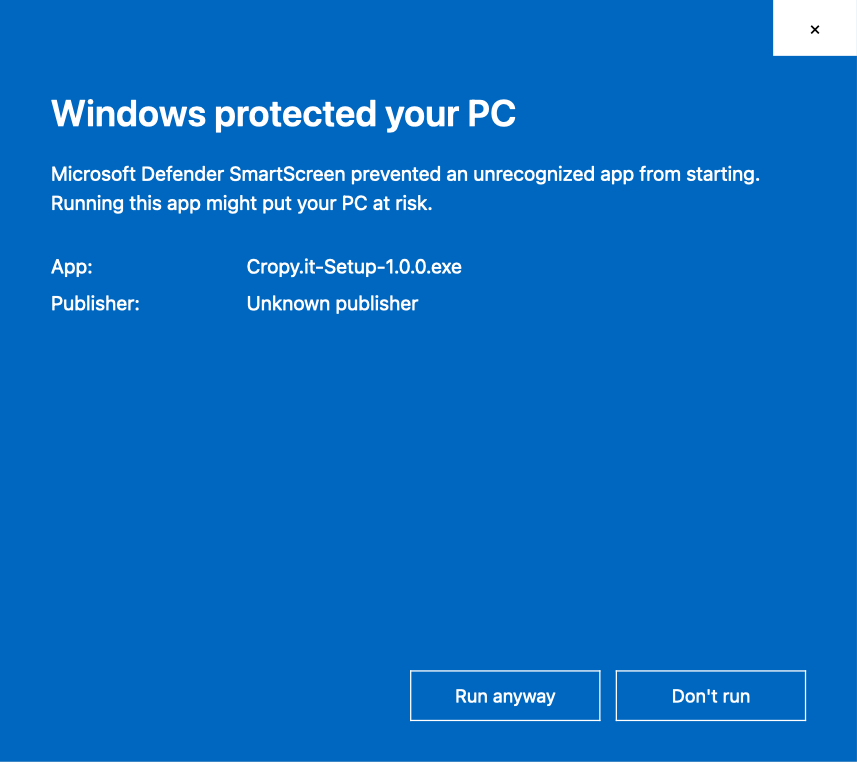
On first open, Windows shows the blue notice “Windows protected your PC”. This too is normal for new apps:

  • 1Click “More info”.
  • 2Then click “Run anyway”.
Windows SmartScreen: More info, then Run anyway
Windows SmartScreen · “Run anyway”

4Install

The installer does the rest

The installer window walks you through setup in a few clicks — short and self-explanatory. After that you'll find Cropy.it in the taskbar notification area (bottom right, possibly under the ^ arrow, “Show hidden icons”). One click opens the main window.

The installation runs for your user account only — fast and with no system-level changes. Automatic updates are built in.

5Finding the app

Cropy.it lives in the taskbar

Cropy.it has no window of its own in the taskbar — it sits in the notification area at the bottom right (system tray), next to the clock. Look for the two overlapping, rounded squares. If the icon is missing, click the ^ arrow, "Show hidden icons".

Windows taskbar with the Cropy.it icon in the notification area on the right

6The window

One click opens everything

Clicking the Cropy.it icon opens the main window. From here you can reach every feature:

  • 1Start a capture — area, screen or Scroll.
  • 2Recent screenshots — one click opens the editor.
  • 3Clipboard history — everything you've copied.
Cropy.it main window with capture types, recent screenshots and clipboard
1 2 3

7Capture

Area, screen or window

At the top of the window, one click picks what you want to capture.

Area

Drag out a rectangle with the mouse — the classic snip / cutout.

Screen

The whole screen — with an adjustable timer for the perfect moment.

Window

Exactly one app window, detected automatically and cleanly isolated.

When "Automatically copy to clipboard" is on, you can paste right away with Ctrl V.

8Edit

Open the editor

There are two ways into the editor:

  • Right after capture — when "Open editor after screenshot" is on.
  • Via "Recent screenshots" — click an image in the window.

In the editor: Crop · Arrow · Rectangle · Text · Number · Blur · Magnifier.

Recent screenshots – clicking an image opens the editor
Cropy.it editor with toolbar

9Settings

Change the save location

By default, screenshots land in the Pictures\Cropy.it folder. Open Settings (bottom left in the Cropy.it window), General tab.

  • Under "Save location for screenshots", click "Change …".
  • Pick your preferred folder and confirm.
  • All new screenshots will land there from now on.
Settings › General › Save location for screenshots › Change

Even faster

Keyboard shortcuts

Trigger from anywhere — every shortcut can be customized in the settings under Hotkeys.

Capture areaSnip / cutout
2
Full screenFull-screen capture
6
Scrolling captureCapture long content by scrolling
7
Clipboard historyOpen history
V
On US/English keyboards the capture-area shortcut is ⌘ ⇧ 2. On European (ISO) keyboards it's ⌘ ⇧ < — the key next to the left ⇧ Shift.

Even faster

Keyboard shortcuts

Trigger from anywhere — every shortcut can be customized in the settings under Hotkeys.

Capture areaSnip / cutout
Alt<
Full screenFull-screen capture
Alt6
WindowA single app window
Alt7
Scrolling captureCapture long content by scrolling
Alt8
Clipboard historyOpen history
AltV
On US keyboards the capture-area shortcut is Alt ⇧ 2. On European (ISO) keyboards it's Alt < — the key next to the left ⇧ Shift.